Calendars
Oncord includes a UI control for producing calendars: <data:calendar>.
Calendars are often populated by Posts, to allow admin users to more easily updating calendar content without manipulating src code.
Example One: A Post-Based Calendar
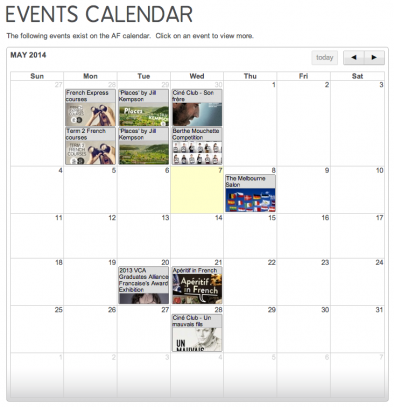
Pictured below is a post-based calendar implemented on a website. The post image, title, linked page and date are used to display an event
on the calendar. Clicking on an event will redirect the user to the page linked to the post (if the post has a linked page).
Getting Started
Before coding the calendar, a new Post Category should be setup, which will be used to retrieve all Posts which will display as events.
- Login to the dashboard, click on the "Posts" link in the left-hand sidebar.
- Click the "Categories" button to view all the Post Categories currently setup.
- Click "New Category", it's a good idea to name the category "calendar", or "events".
FAQ - Should the calendar post category be a primary category? Or an additional category?
If posts will be
created with the sole purpose of displaying in the event calendar, create a primary Post Category. Otherwise, an additional Post
Category can be used ibnstead.
Source Code
Copy the code below into the page src, updating the post category ID defined in the getAllForCategory() method, with the correct Post Category ID.
Using the Calendar
To add a new event to the calendar, create a Post and assign it to the Post Category used to populate the calendar. You can alter the date of a Post by clicking the "Additional attributes" tab while editing / creating the Post.
Example Two: Advanced Calendars
Getting started
In the previous example above, the post date was used to position the post in the calendar. In this more advanced example, the post_date will be the starting date/time of the Event.
To set the end date/time of an event, you'll need to create a Post Custom Field:
- Login to the dashboard, click on the "Posts" link in the left-hand sidebar.
- Click the "more" button then select Custom Fields.
- Click "New Field" to create a Post Custom Field
- Select Date with Time on Data Type

Source code
Add the attribute enddatecolumn="POST CUSTOM FIELD" on your calendar, replacing the post custom field with the correct field name.
Design Examples
Layout 1
Designed with a minimalist style to highlight the events occurring in a given month, and if applicable, a photo thumbnail will be included for visual representation.
- Markup
- CSS Styling
- Preview
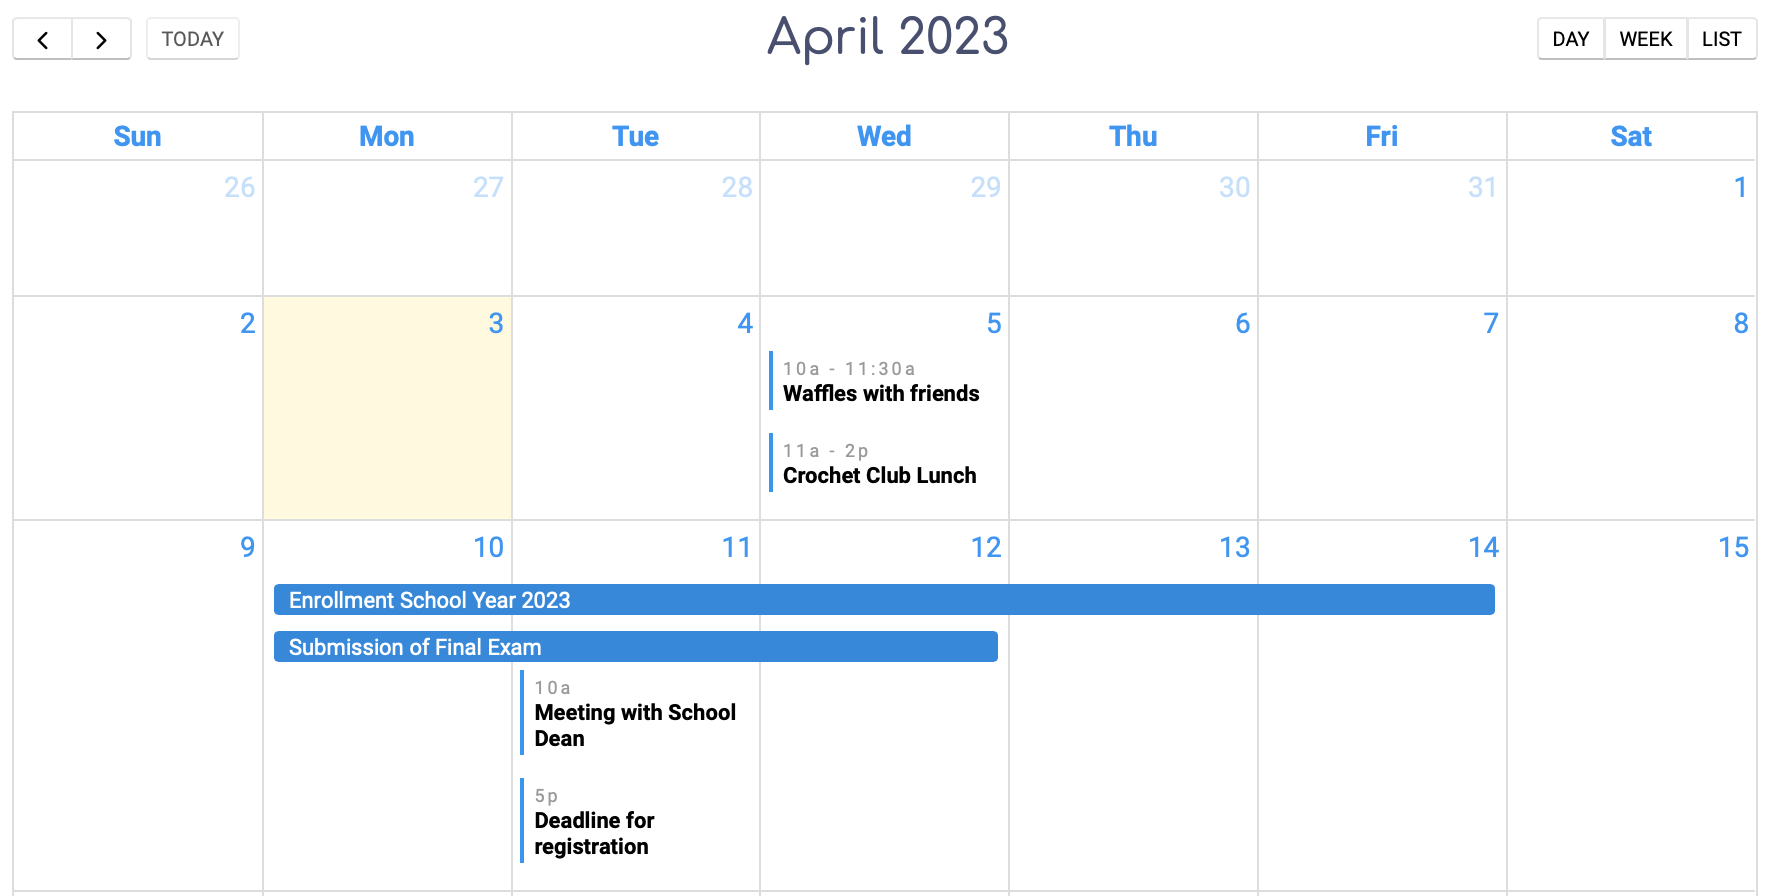
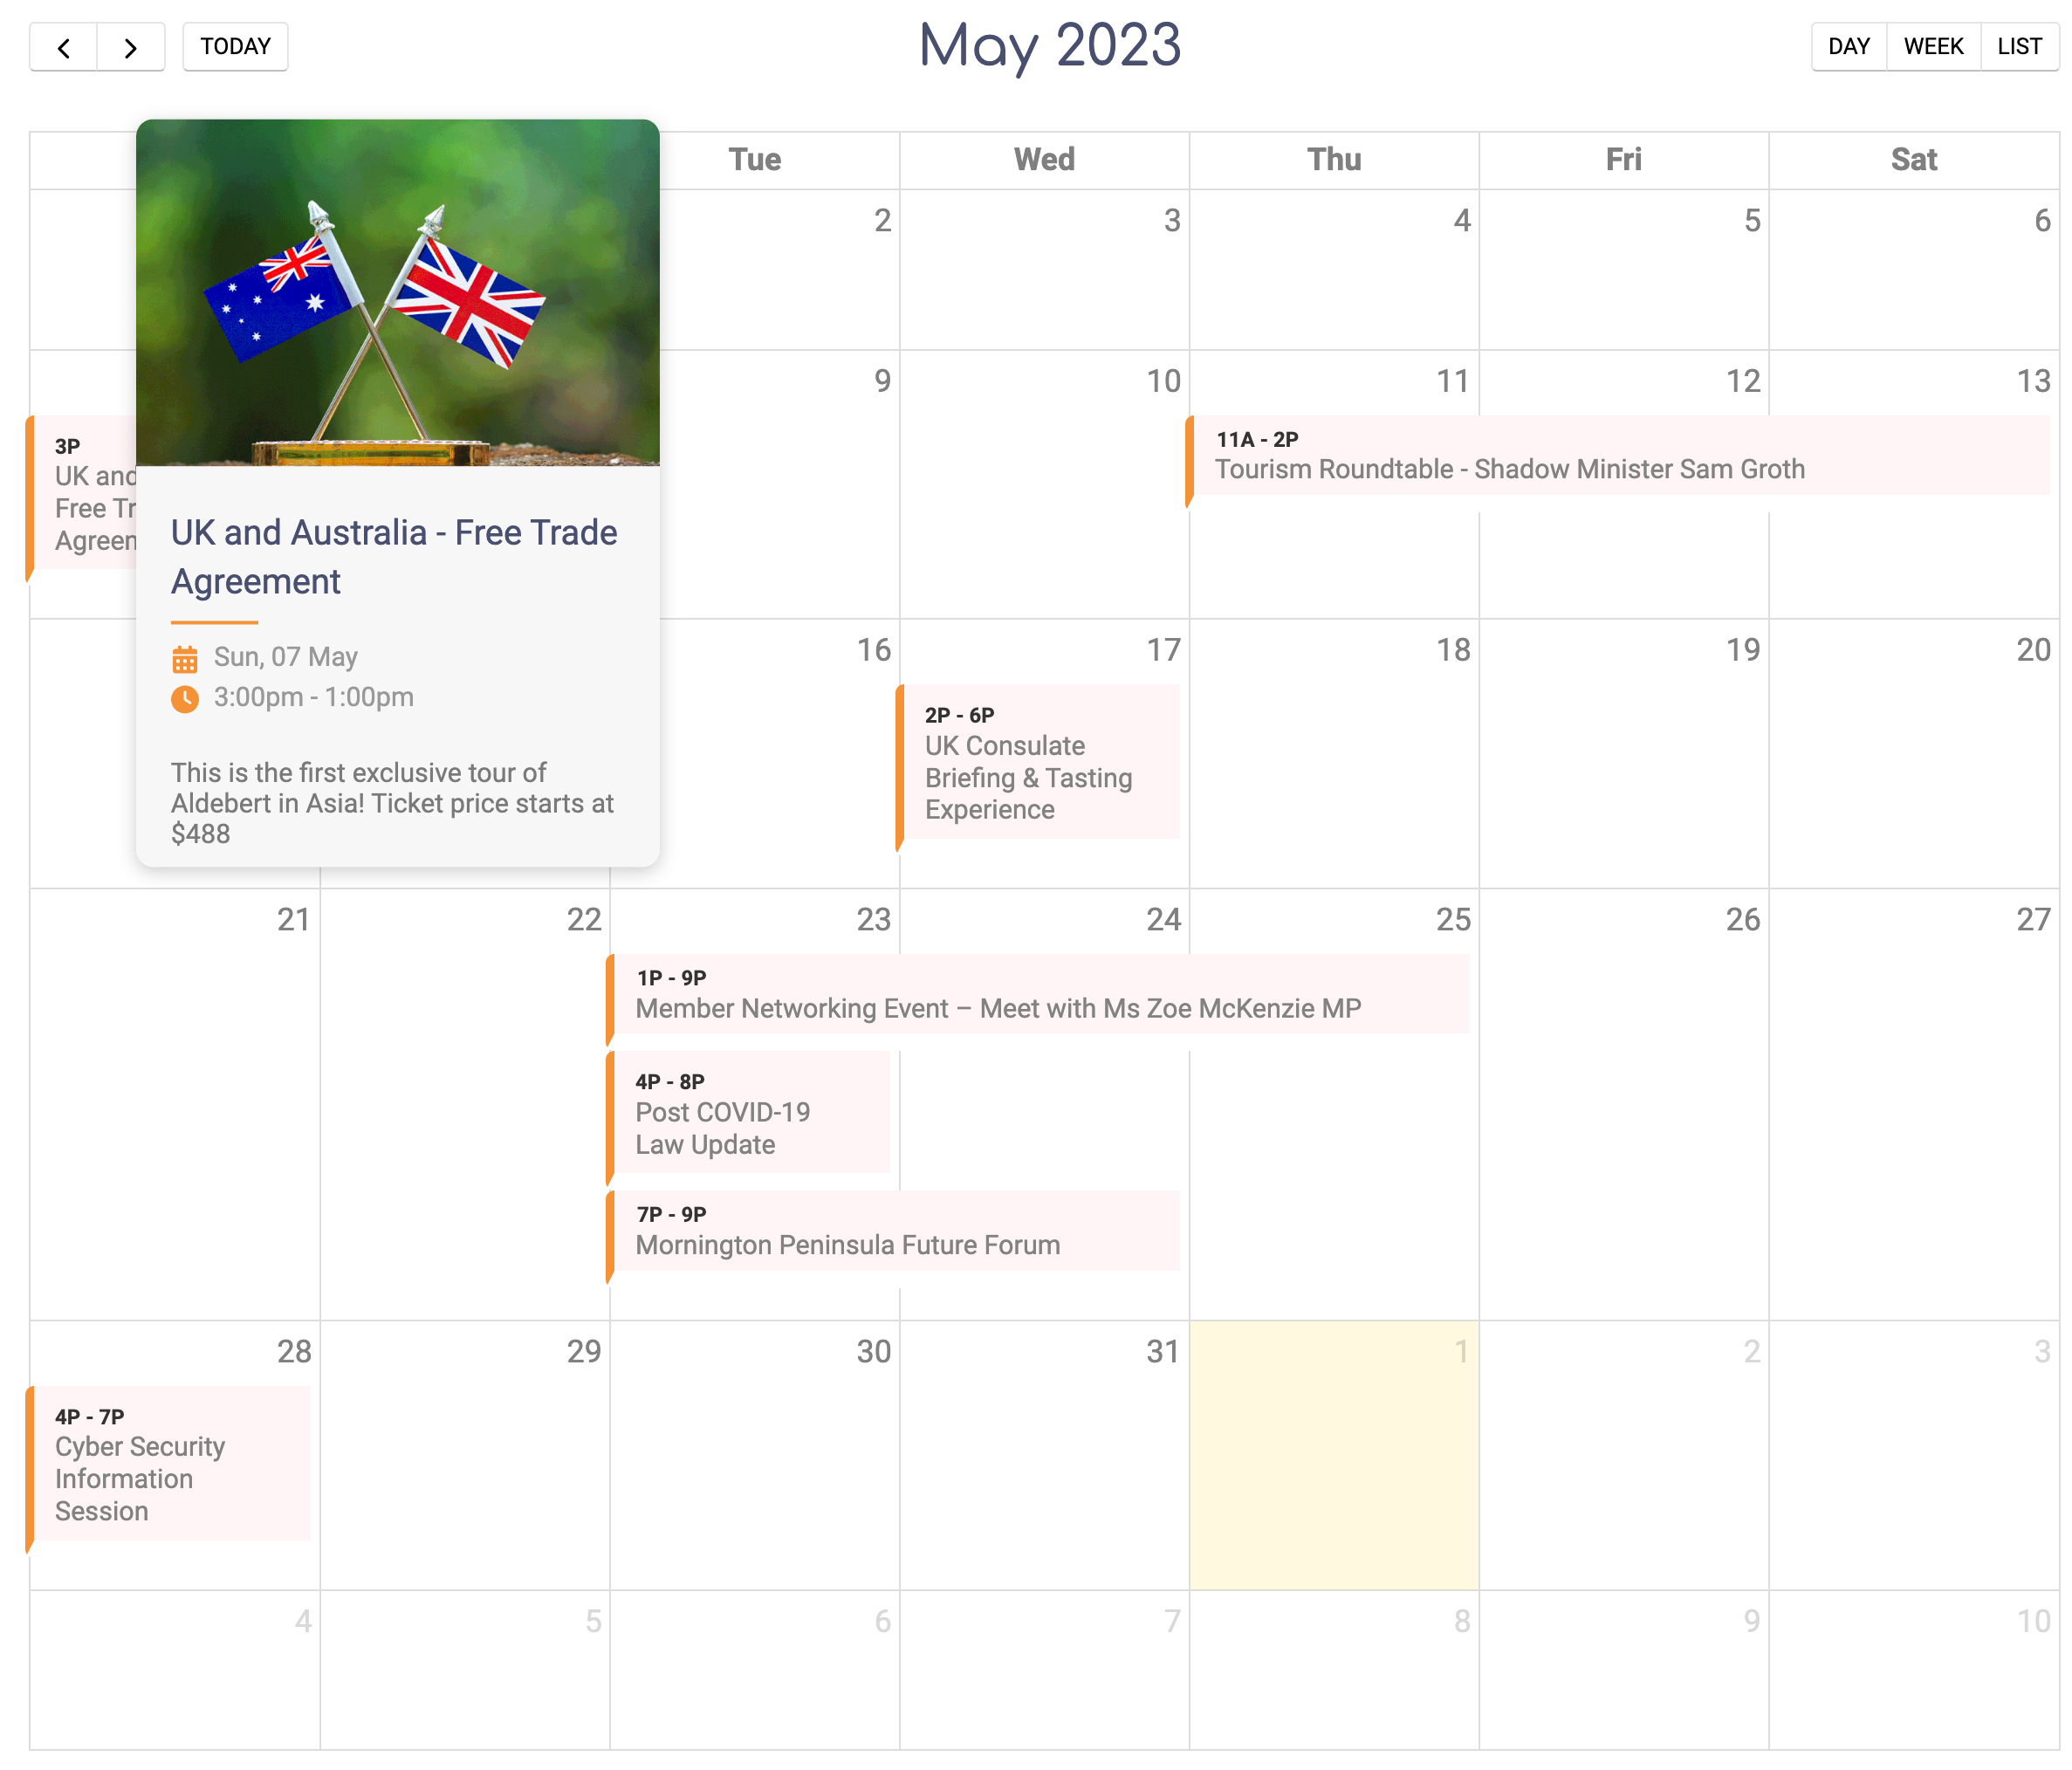
Layout 2
This calendar is ideal for events that have additional descriptions. A popup will appear to display further information by hovering over each event.
- Markup
- CSS Styling
- Preview
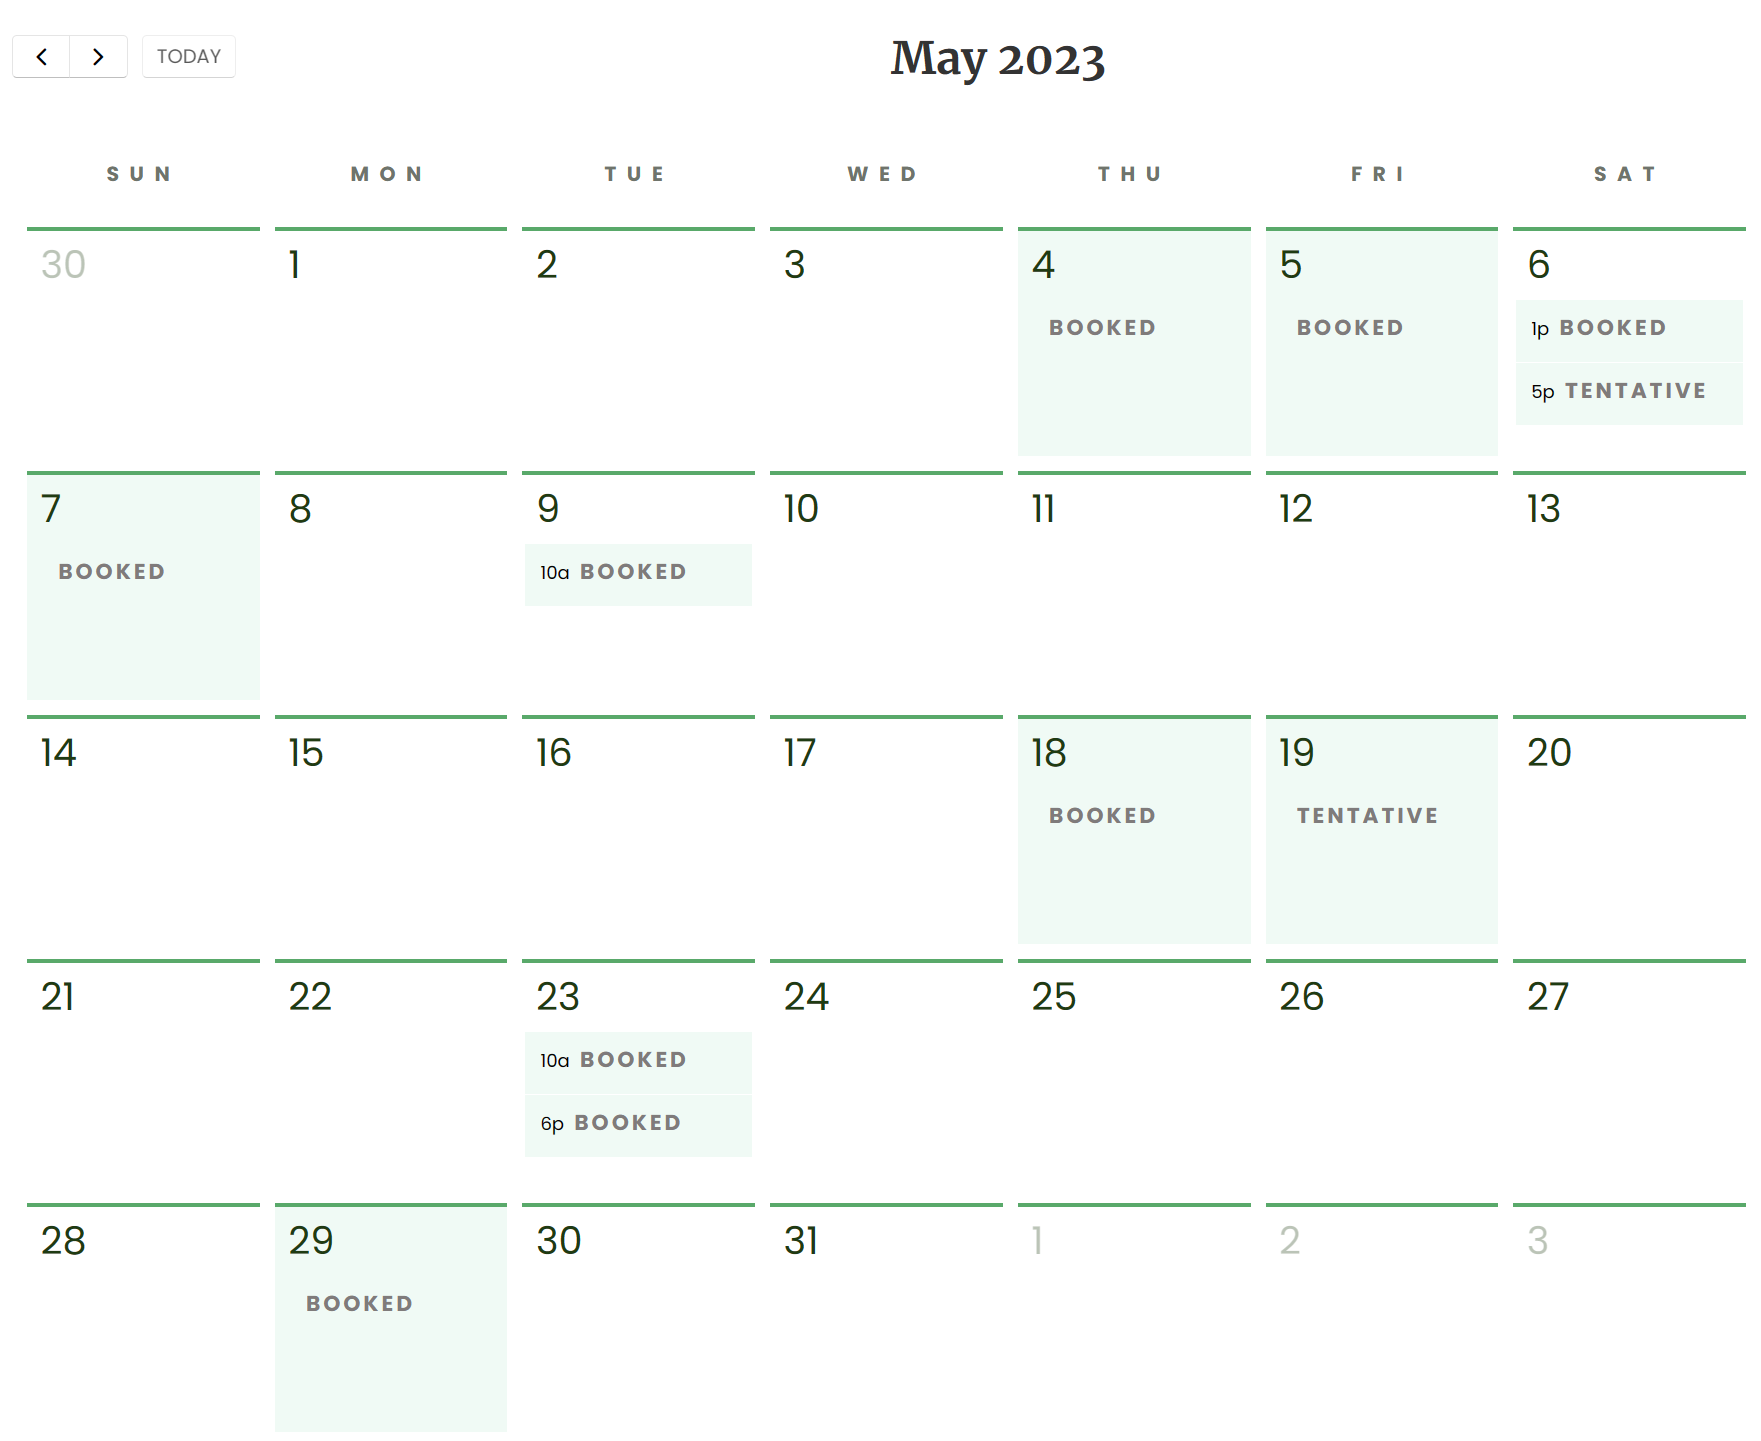
Layout 3
Use the Calendar design to display the business's availability calendar.
- Markup
- CSS Styling
- Requirement
- Preview