
Working With Oncord Designs
The role of a design is to maintain consistency across website pages, or e-mail marketing messages.
Global elements, including the navigation menu, header, and footer, should reside with a design, while content should be situated
within website pages, posts, products, or email messages.
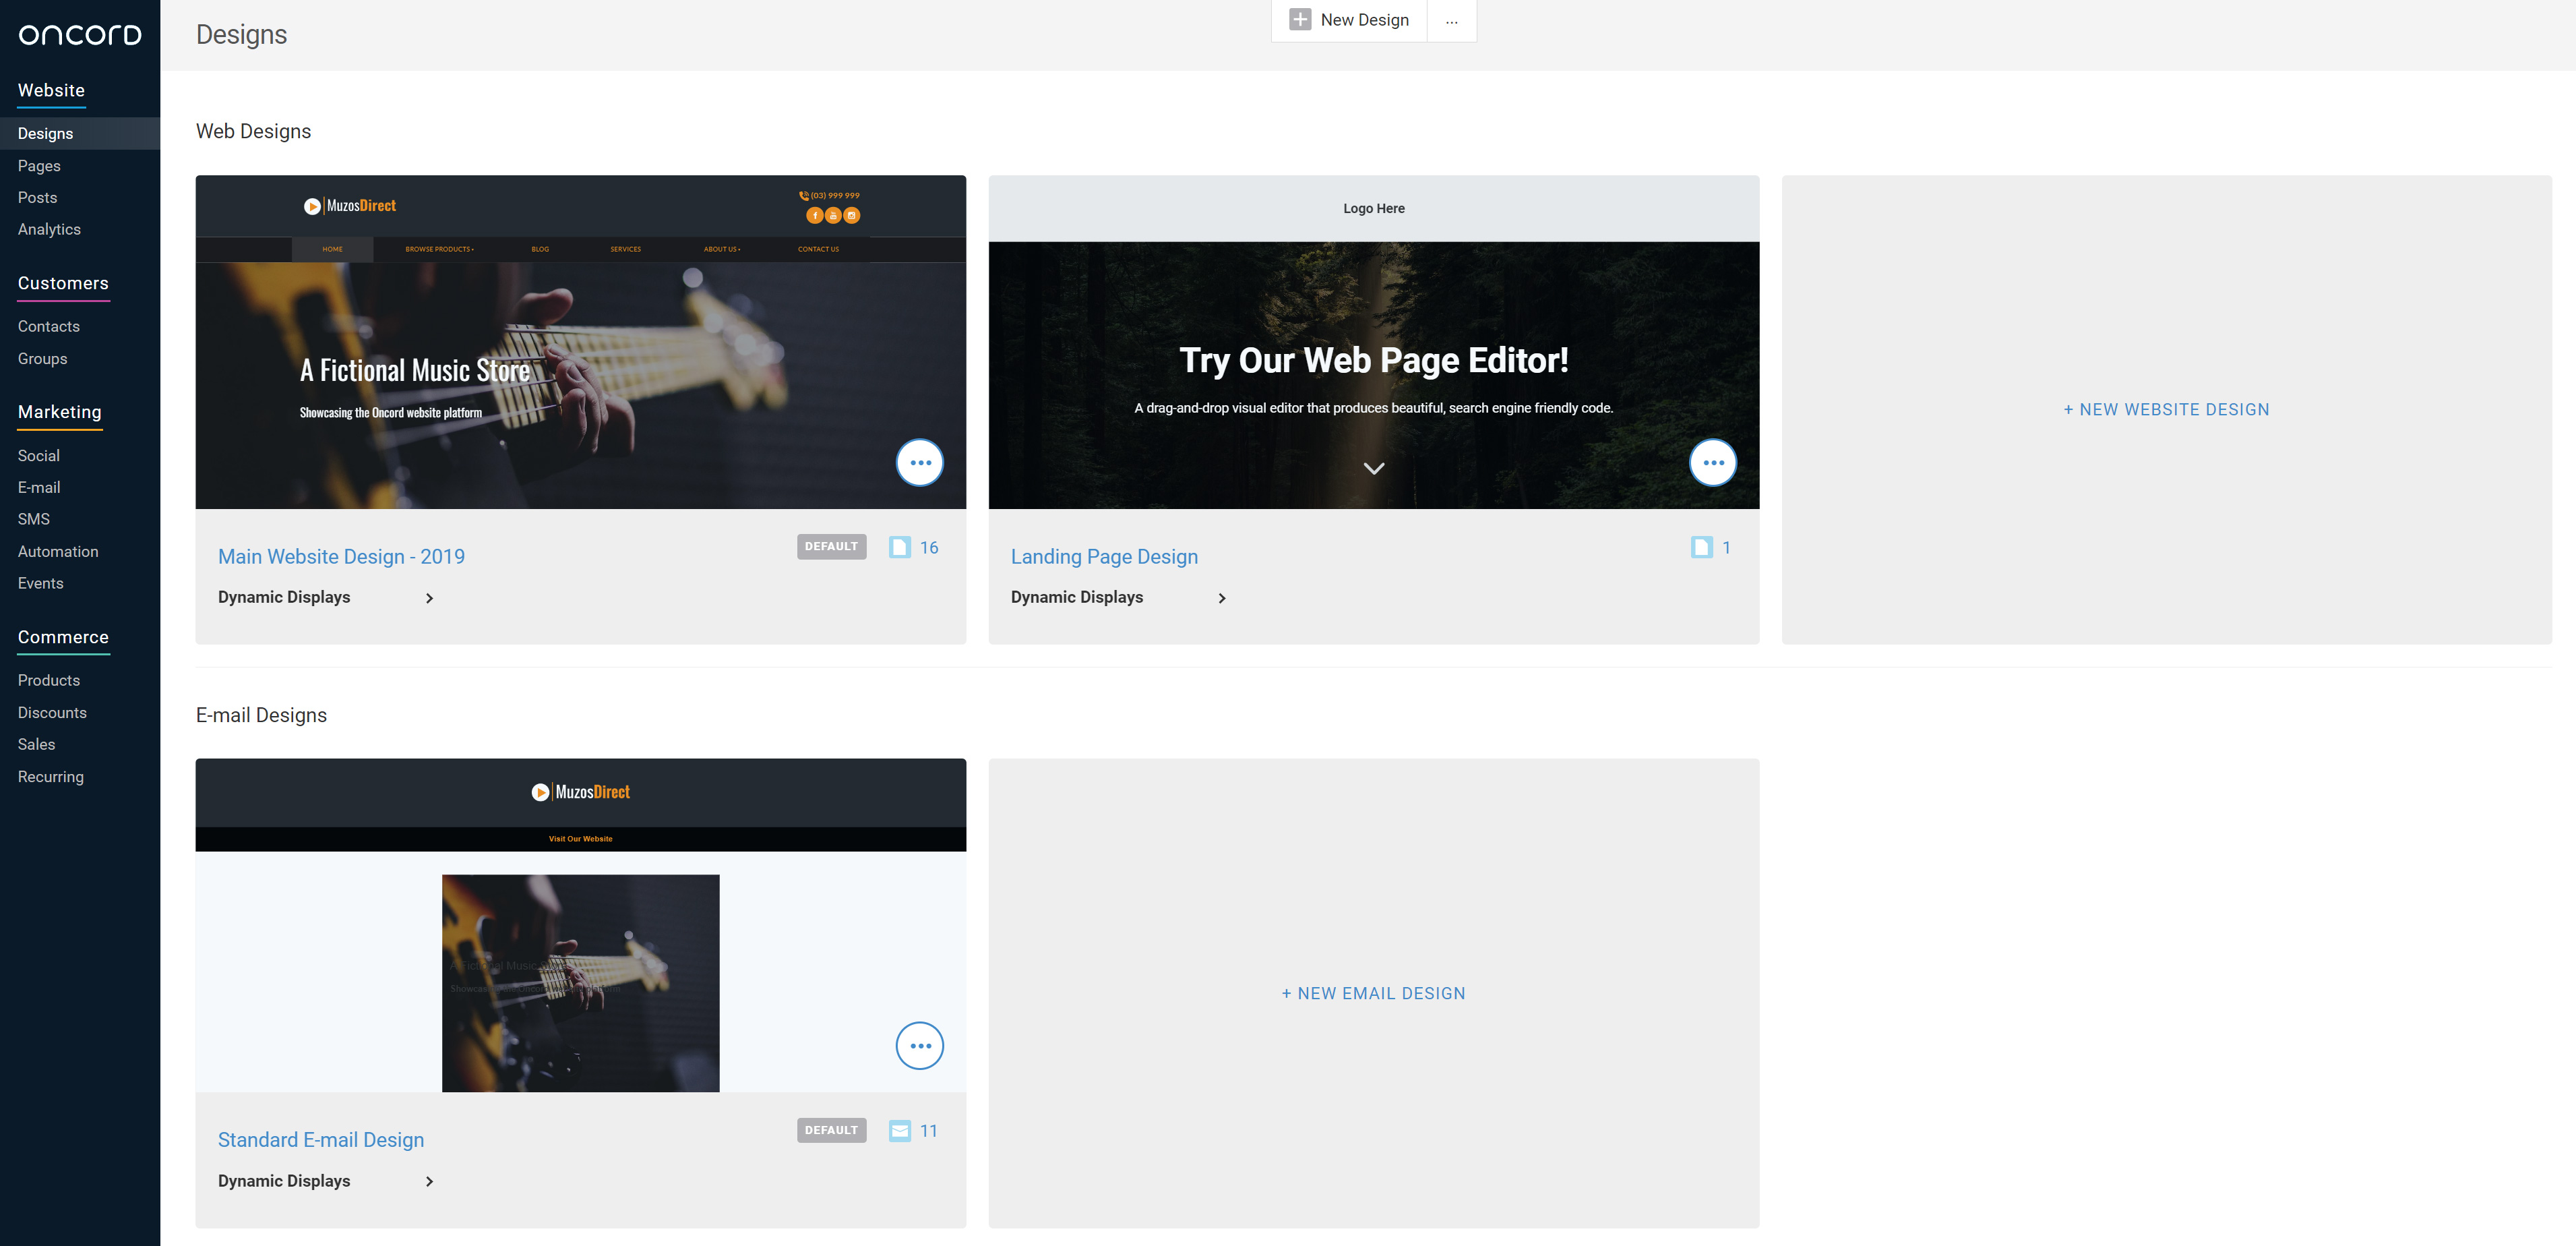
To manage designs, navigate to
Dashboard > Website > Designs.
Each design has a title for reference purposes throughout the system (ie. "Main Website Design - 2019" in the above screenshot).
To change the title of a design, hover over the existing title to reveal a pencil icon, or click the "Settings" button in the left panel when editing a design.
Designs may be imported / exported between Oncord accounts.
Navigate to Dashboard > Website > Designs > Select import, or export in the top menu.
Create a New Website Design
Navigate to: Dashboard > Website > Designs.
Select the "New Design" button located at the top of the page, or the grey "+ New Website Design" box. You'll be presented with two options for creating a new design:
1. Start From A Template.
2. Code from Scratch.
Option One: Start From a Template
This approach allows you to generate a website design and some example pages quickly, based on an existing website, or an uploaded logo (read more).

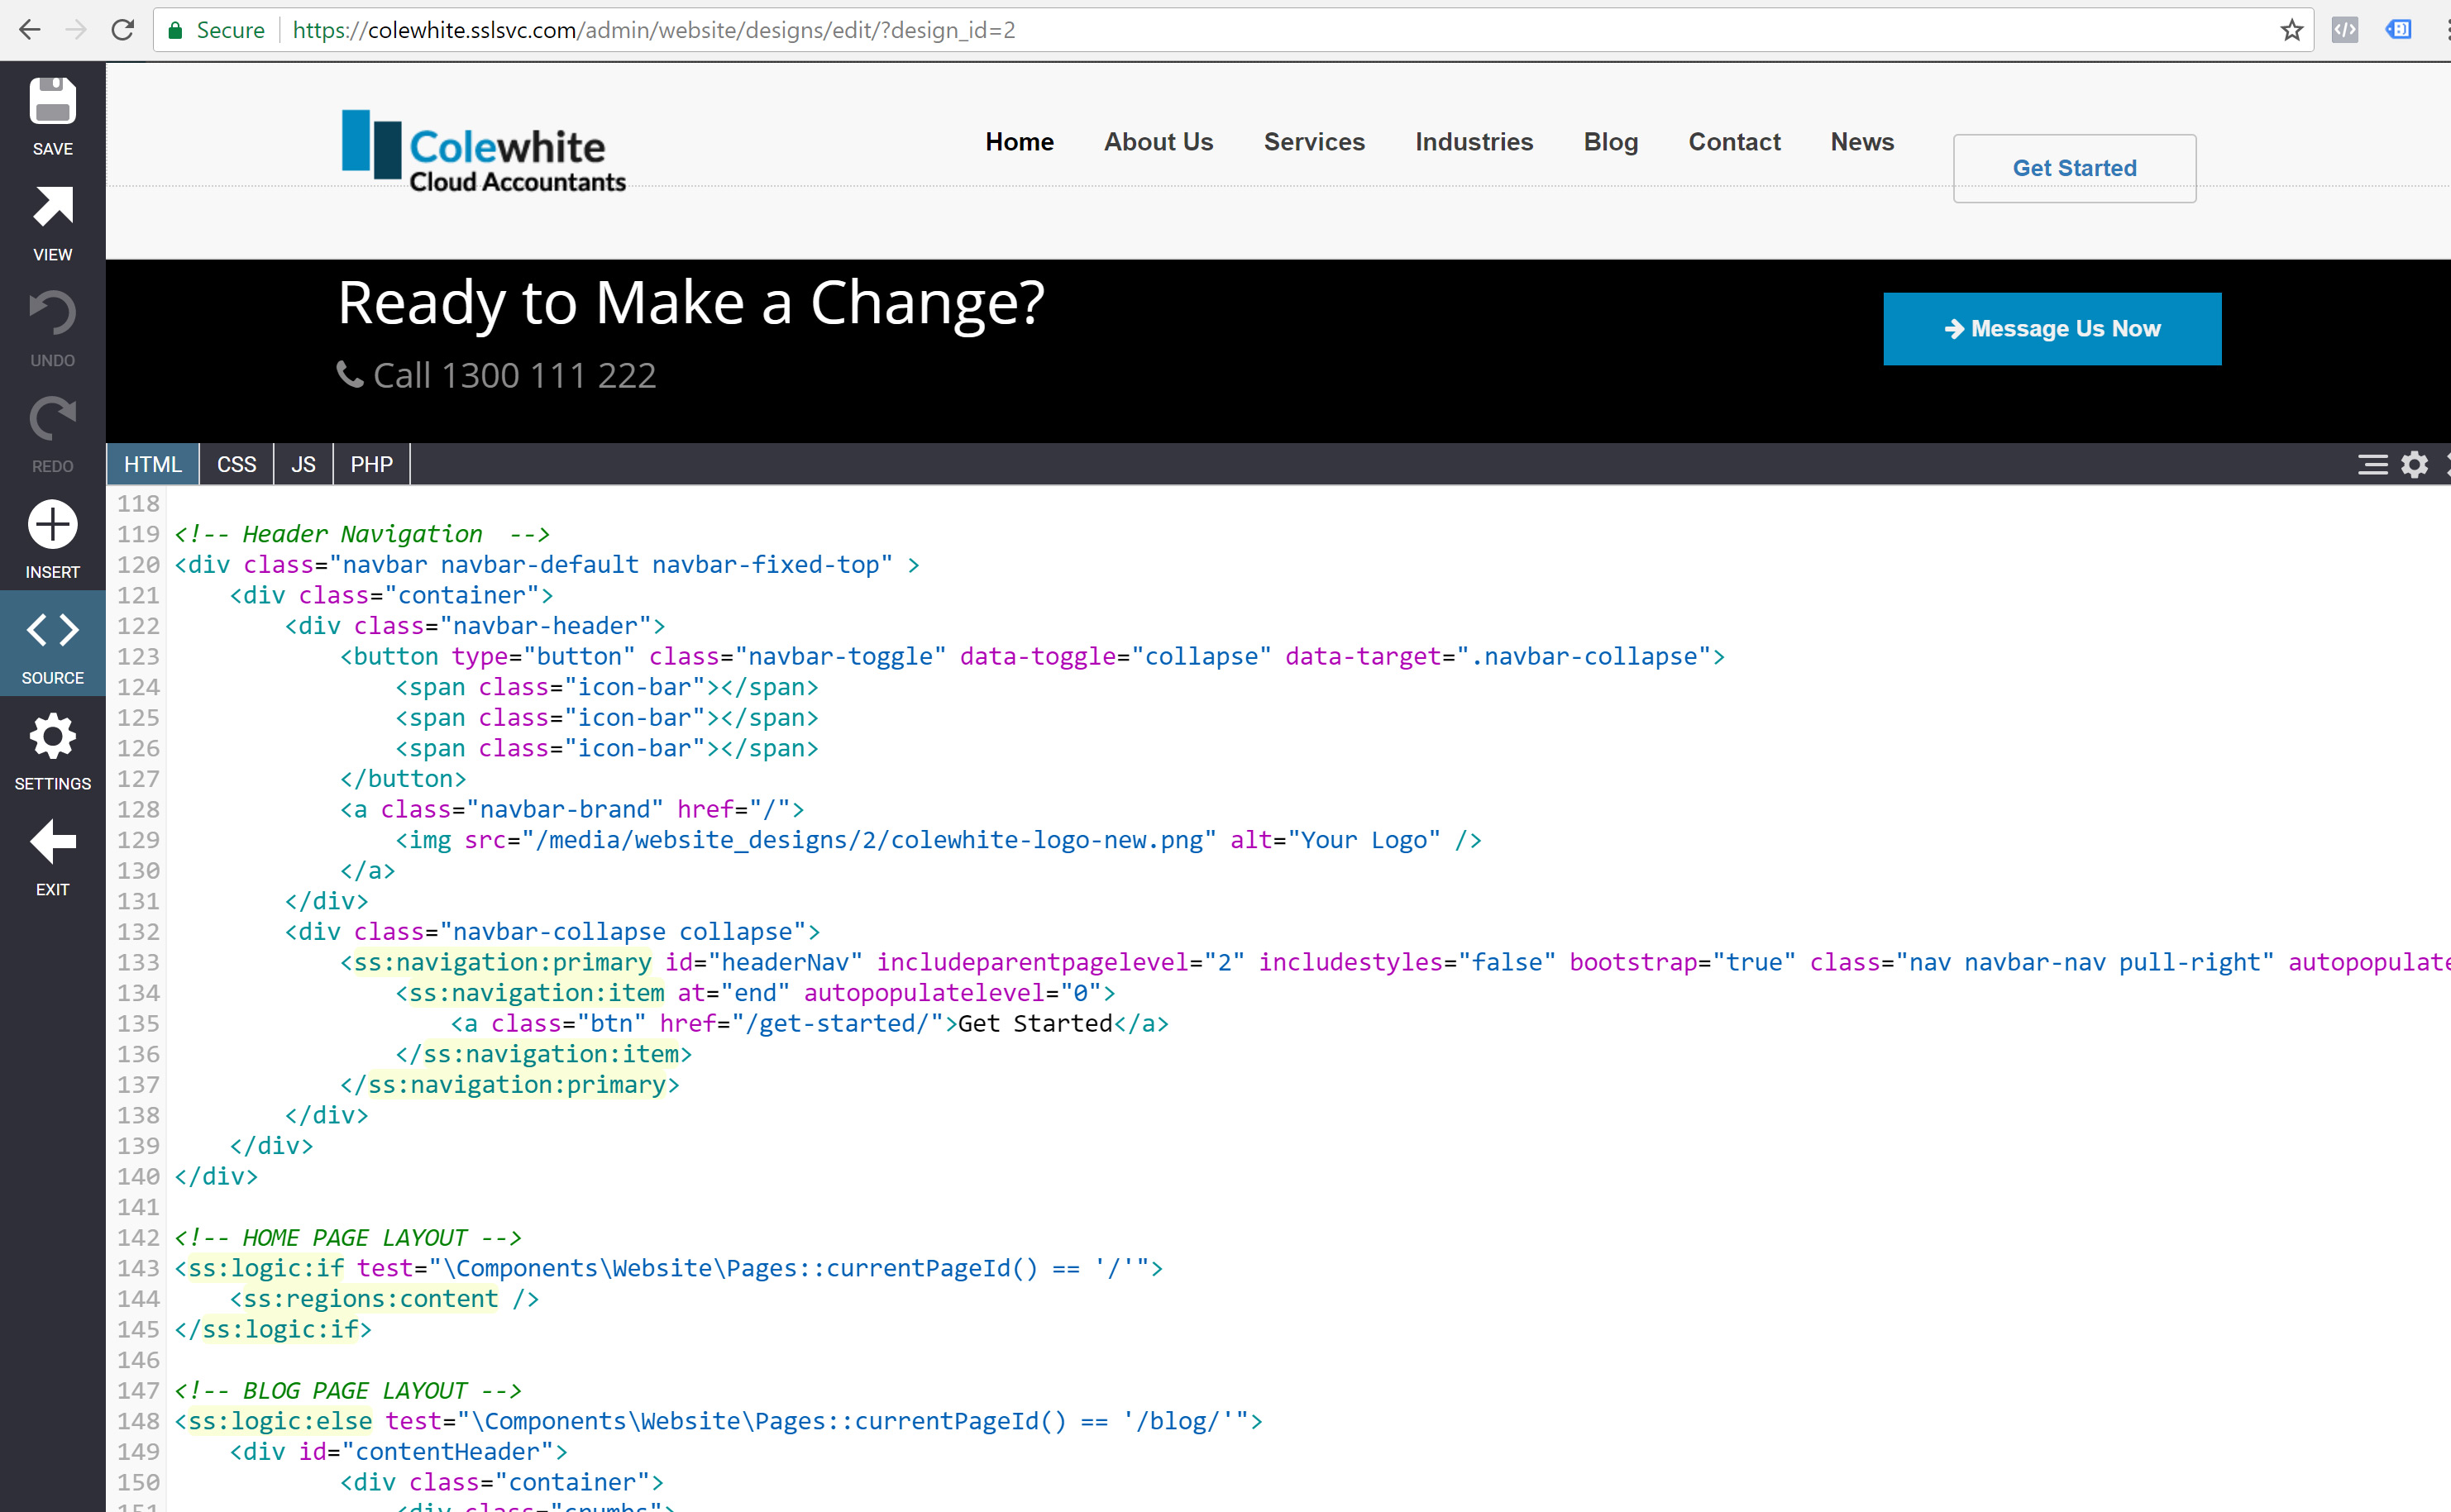
Option Two: Code From Scratch:
This approach will create a blank document, where you can add HTML, CSS, JS and PHP source code for your new design.
Create a New E-mail Design
Navigate to: Dashboard > Website > Designs.
Select the "New Email Design" option, which appears at the end of the list of e-mail designs. A standard e-mail design will be created, which you can customize.
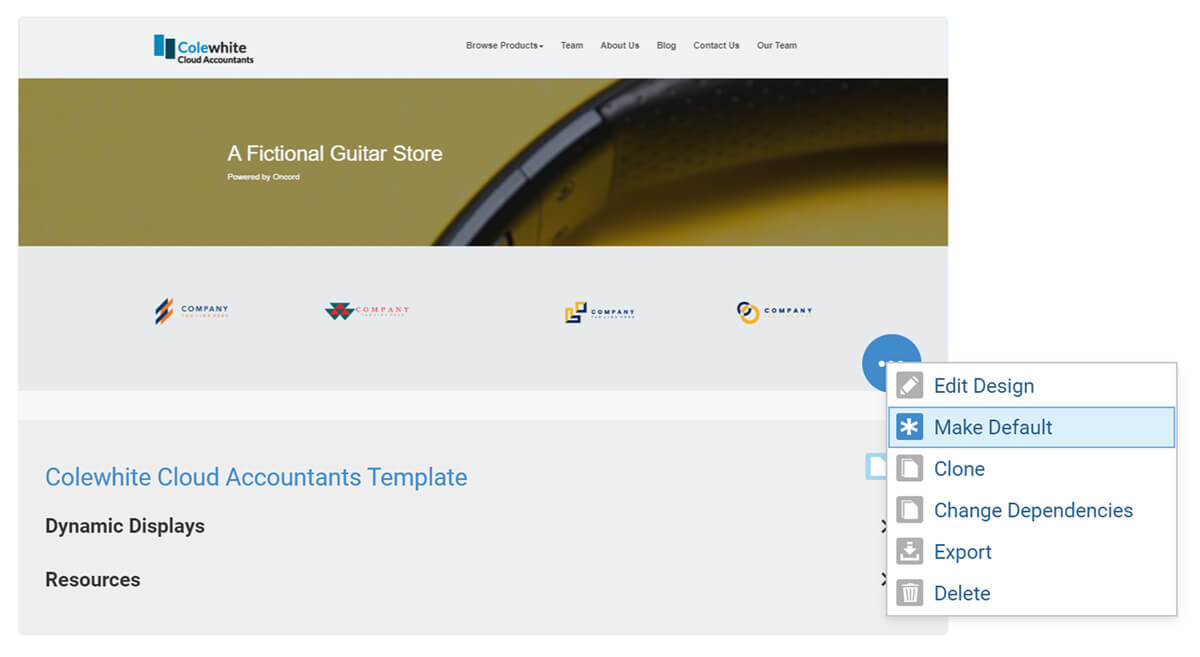
Nominate The Default Design
You will nominate a default website design, and a default e-mail design.
Each website page may be set to use a specific design (via Settings when editing the page), otherwise pages will be set to use the "Default" design.
The same is true for e-mail messages. Newly created e-mail messages will use the default design, unless they have been configured to use another specific design (edit the email message, click "settings" in the left panel).
System pages (such as the unsubscribe form, events RSVP page, e-commerce products etc), will use the default website design.
You may change the default design by clicking the menu button on the relevant design, to reveal a drop-down menu with the option "Make Default".
The Content Region
Placed within a design, the content region defines the location within a design where page or email content will render. Exactly one content region must be present in your design within the <body> tag:
Only one content region may be defined within each design. Where you require multiple editable regions within a single design, a UI control
is used to define additional content regions.
Test Your New Design
Where you need to test a new design before using it as the default, create a new website page, and set the page to be offline, so that only administrators can view it.
Edit your newly created test page, and click "Settings" in the left panel. Set the test page to use your new design. When you're ready for the new design to be applied to other website pages, just set your new design as the default.
Images, Javascript and Media
Each Oncord account has a central media folder. The system will sort media into relevant sub-folders for you (such as website_designs,
website_pages and website_posts).
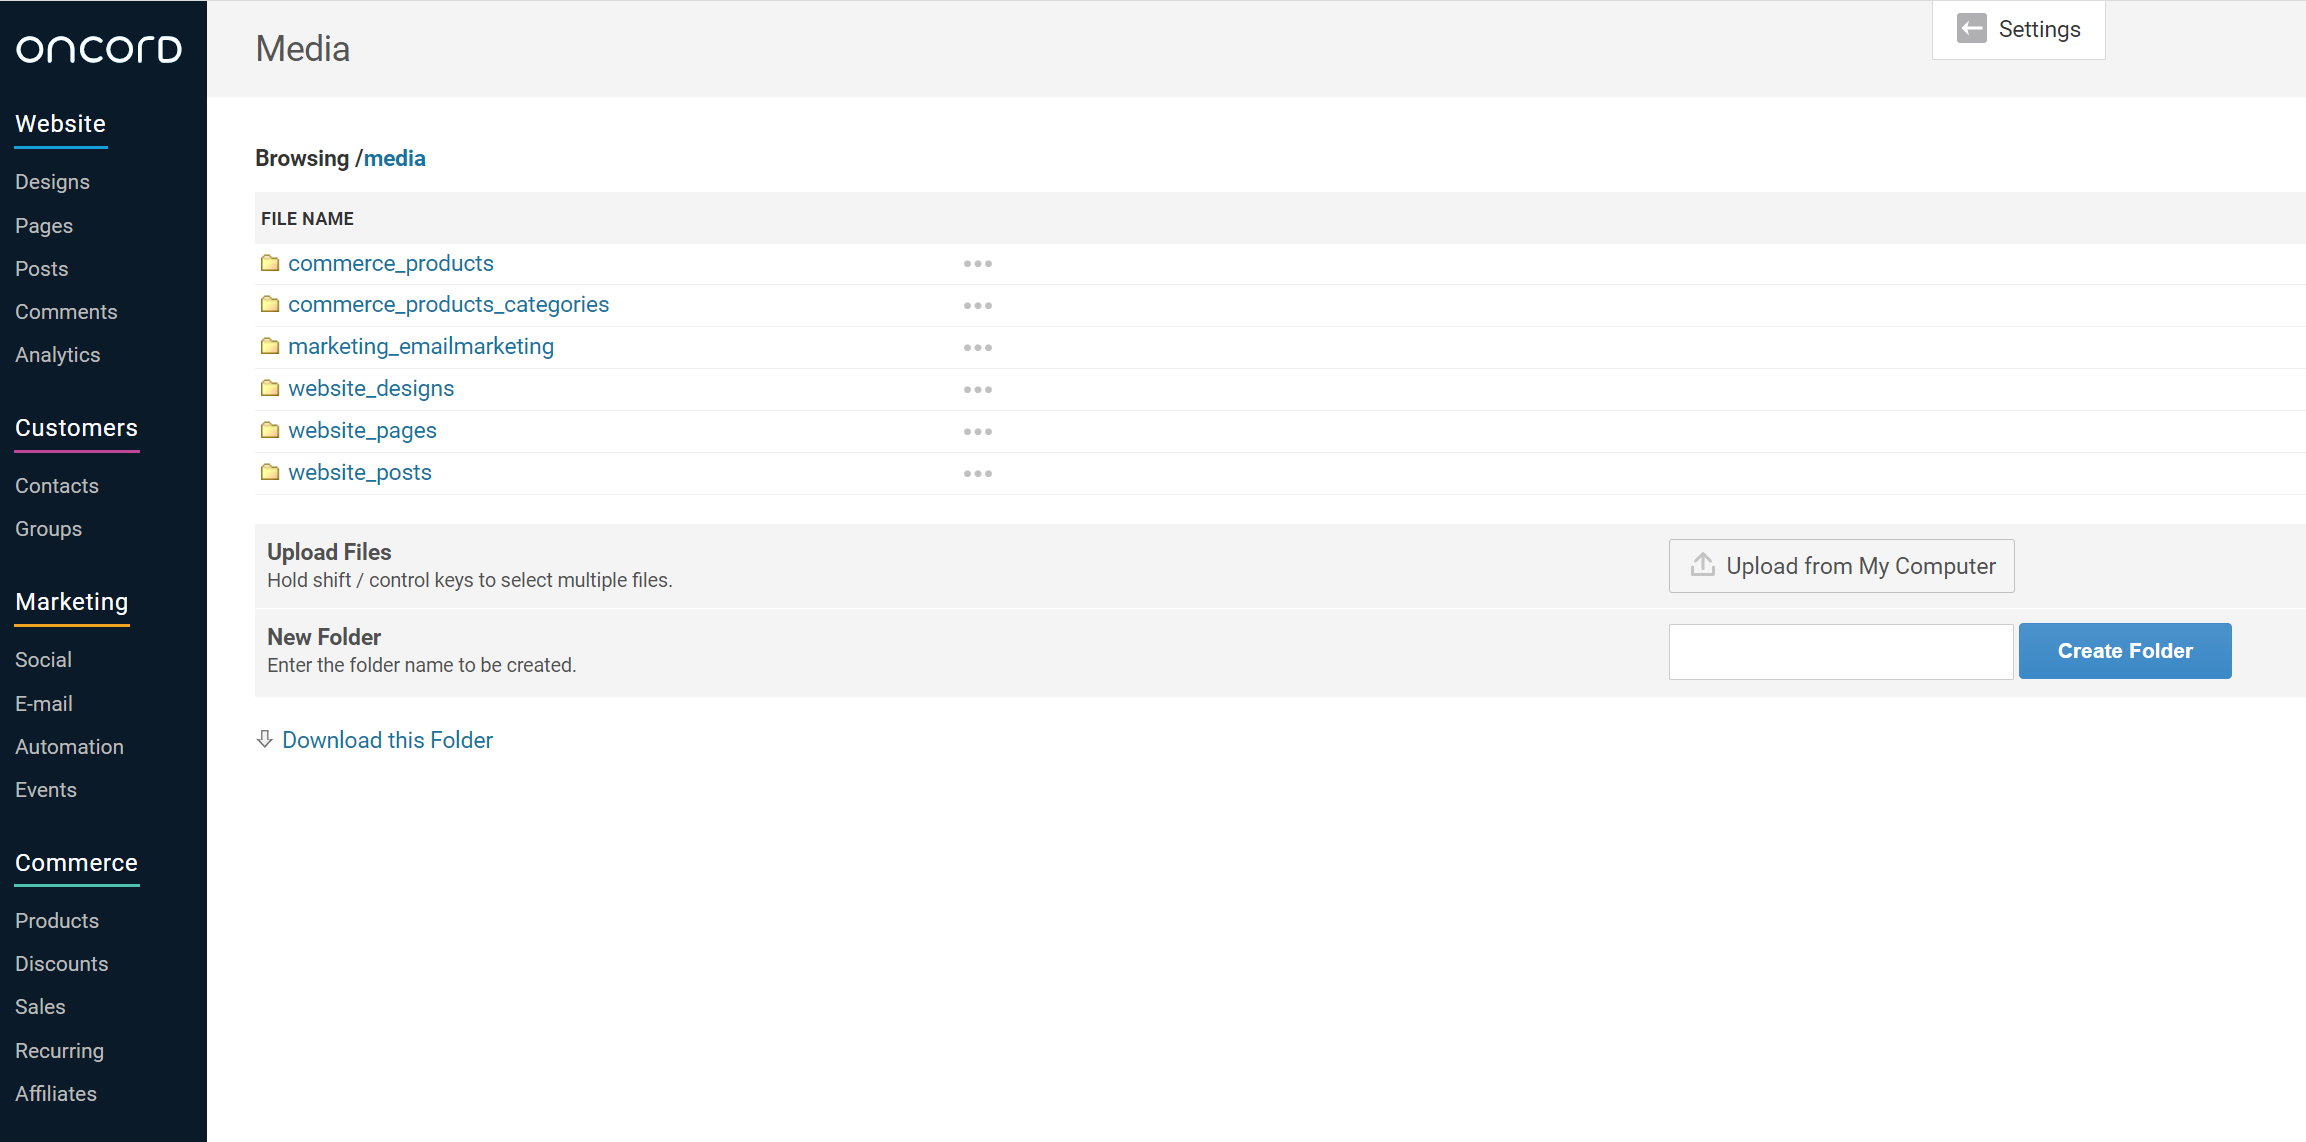
When uploading media within the context of editing a page, design, product or email message, media will be placed within a relevant media
sub-folder.
You can create your own media folders, and un-zip media uploaded to Oncord.
Each design has a media folder which should be used to neatly sort all design-related elements such as CSS files, JS files and images which appear in the design. Access the media for a design by clicking the "media" button in the left sidebar while editing a design. These files can then be referenced in the design as follows (where "1" is the ID of a design);
Next Steps:
- Learn how to import a custom HTML / CSS template (If you're a web developer / designer).
- Learn how to generate a Design (If you prefer a visual editor).