Managing Sales
Learn how to manage sales
Understanding Sales And Invoices
The sales component of Oncord is responsible for all sales made through the online store, as well as sales invoices synchronized from your Accounting Software (if you have an integration enabled). Whenever a purchase happens on your website, a sales invoice will be generated automatically.
This article will introduce you to the Sales page of the dashboard.
View all Sales
To view all of your sales invoices, navigate to Dashboard > Commerce > Sales.
You will be presented with all sales invoices.
Filtering Sales
Oncord's "Filter by Condition" system helps you query Sales that meet a set of conditions including:
- By field.
- In Product Categories, or of Product Brands.
- Of Products.
- Sold between dates.
- Using Discount.
- Within price range.
To get started:
- On your sales page, click the "Custom Filter" option at the top of the table, which will open up the Filter by Conditions engine.
- A search bar will appear underneath with a list of available condition options that you can choose to create a custom filter.
- After selecting a condition, additional options specific to that condition will be displayed underneath, allowing you to make your query even more specific.
-
You can stack query conditions by clicking the blank area on the right, and you can also use negated logic operations by clicking the
 icon at the top right of the condition.
- The following example demonstrates how to retrieve all sales which in a certain product category but have not used a discount.
- The filter will be applied instantly after you specify conditions. You can also export sales as a CSV file by clicking the "Export" button after filtering sales by conditions.
Download / Print an Invoice
To download or print a sales invoice, navigate to Dashboard > Commerce > Sales.
Click the invoice you would like to download. Click one of the buttons for printing and downloading a PDF sales invoice.
E-mail a Sales Invoice
To e-mail a sales invoice to either yourself or the customer:
- Open the invoice by clicking it.
- Click the e-mail button in the popup menu.
- In the visual editor, customize the e-mail with your own note, or any other important details.
- Select the option to either e-mail this invoice to the eCommerce notification e-mail address, or to the customer.
- Click the "Send E-mails" button.
Running Sales
This article will explain how to run a manual sale.
Before processing sales on your account, you should configure your payment and shipping methods.
To configure Payment and Shipping Methods, navigate to Dashboard > Settings > Commerce > Configuration.
To process a manual sale, navigate to Dashboard > Commerce > Sales.
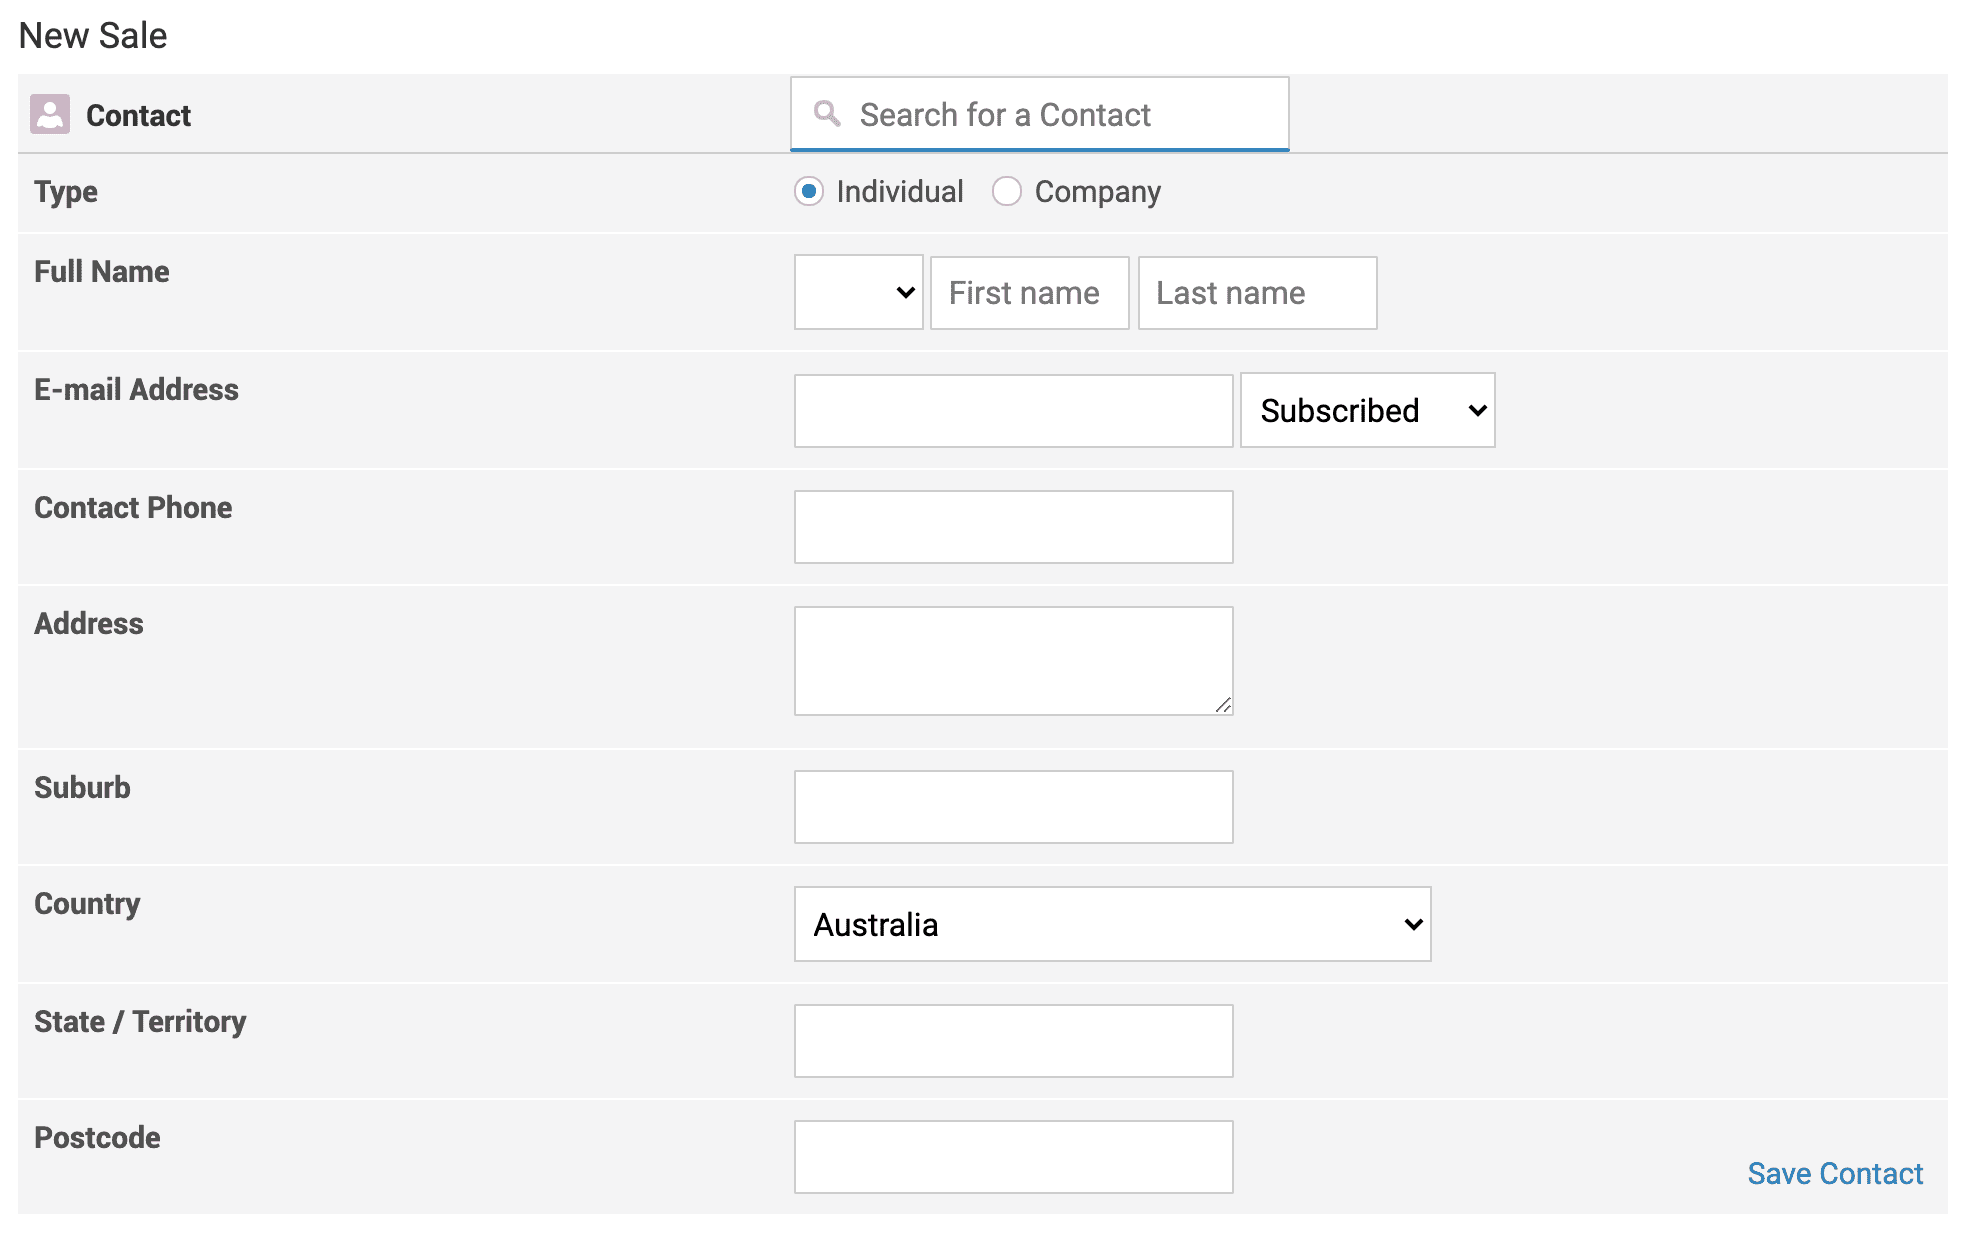
Click the "New Sale" button towards the top of the page to configure a new sale.
Select an Existing Contact, or Create a New Contact
A sales invoice must be assigned to a contact.
You can search for an existing contact using the search box, otherwise you can enter some information to create a new contact.

Select a Product
You can either link the sale to existing products in your catalog, or just enter the text you would like to use to describe a charge.
The product field can be used to search for an existing product by name, or you can simply type a custom product name in this field.
After adding the product details, click the "Add item" button to add the product to the sale.
Select Delivery & Payment Methods
If your product requires shipping, you'll need to select a delivery method when processing a sale.
Next, select a payment method. The option "Receive Payment Later" should be used when payment will be received at a later date, rather than at the time the sales invoice is generated.
Select the "Confirm Order" button to create the sale.
If you still have questions, please message us at www.oncord.com/company/contact-us/ and we will get back to you as soon as we can.

