-
Website
-
3min Explainer Walkthrough
- Generate a Design
-
Page Management
-
Page Editing
-
Form Builder
- Updating Your Navigation Menu
- Creating Page Redirectors
- Posts Management
-
Search Engine Optimization
- Setting Up Google Marketing Tools
- Setting Up Meta Pixel & E-commerce Tracking
- Setting Up Microsoft Marketing Tools
- Setting Up Linkedin Insight Tag
- Optimizing Images For Web
-
Analytics
- Third Party Embed Code
-
3min Explainer Walkthrough
- Contacts
- Marketing
- Commerce
- Apps
-
Settings and Config
- Going Live
- Updating Your Billing Details
- Changing Your Oncord Plan
- Domain Health Checker
- Managing Administrators
- Registering a Domain Name
- Changing Your Domain Name
- Backing Up Your Website
- Choosing an E-mail Host
- Hosting Email With Oncord
- Setting Up Gmail Hosting
- Setting Up Office 365 Hosting
- Setting Up Sub Domains
- Hosting a Sub-Site
- Setting Up Linkedin Insight Tag
- Website
-
-
3min Explainer Walkthrough
- Generate a Design
-
Page Management
-
Page Editing
-
Form Builder
- Updating Your Navigation Menu
- Creating Page Redirectors
- Posts Management
-
Search Engine Optimization
- Setting Up Google Marketing Tools
- Setting Up Meta Pixel & E-commerce Tracking
- Setting Up Microsoft Marketing Tools
- Setting Up Linkedin Insight Tag
- Optimizing Images For Web
-
Analytics
- Third Party Embed Code
-
3min Explainer Walkthrough
- Contacts
- Marketing
- Commerce
- Apps
- Settings and Config
Setting Up LinkedIn Insight Tag
LinkedIn offers a paid advertising service for businesses and individuals to reach a targeted audience of professionals. It's especially
popular among B2B marketers looking to collect high-quality industry leads.
The LinkedIn Insight Tag is a piece of code that you can add to your Oncord website to enable campaign reporting and unlock insights about your website visitors. You can use the LinkedIn Insight Tag to track conversions, retarget website visitors, and learn aggregate insights about categories of members interacting with your ads.
Setting Up LinkedIn Insight Tag
Create LinkedIn Campaign Manager
Please go to the link below to set up your LinkedIn Campaign Manager and LinkedIn Ad Account:
https://www.linkedin.com/campaignmanager
Create Insight Tag
- Sign in to your LinkedIn Campaign Manager account.
- In the left panel, click on "Analyze" and then select "Sources."
- Under the Catalog section, click on "Insight Tag."
- In the Insight Tag and website actions agreement window, click "Proceed."
-
A new section called "Connected" will appear, where the Unverified Insight Tag will be located.
Add Insight Tag to your Oncord website
There are two popular ways to add the Insight Tag to your website:
Note: It could take up to 24 hours for LinkedIn to start data collection.
How do I know the Insight Tag is working?
Once the Insight Tag has been successfully installed on your Oncord website, you can check its status by navigating to LinkedIn Campaign Manager > Ad Account > Analyze > Sources.
On the Sources page, your Insight Tag will show as "Active."

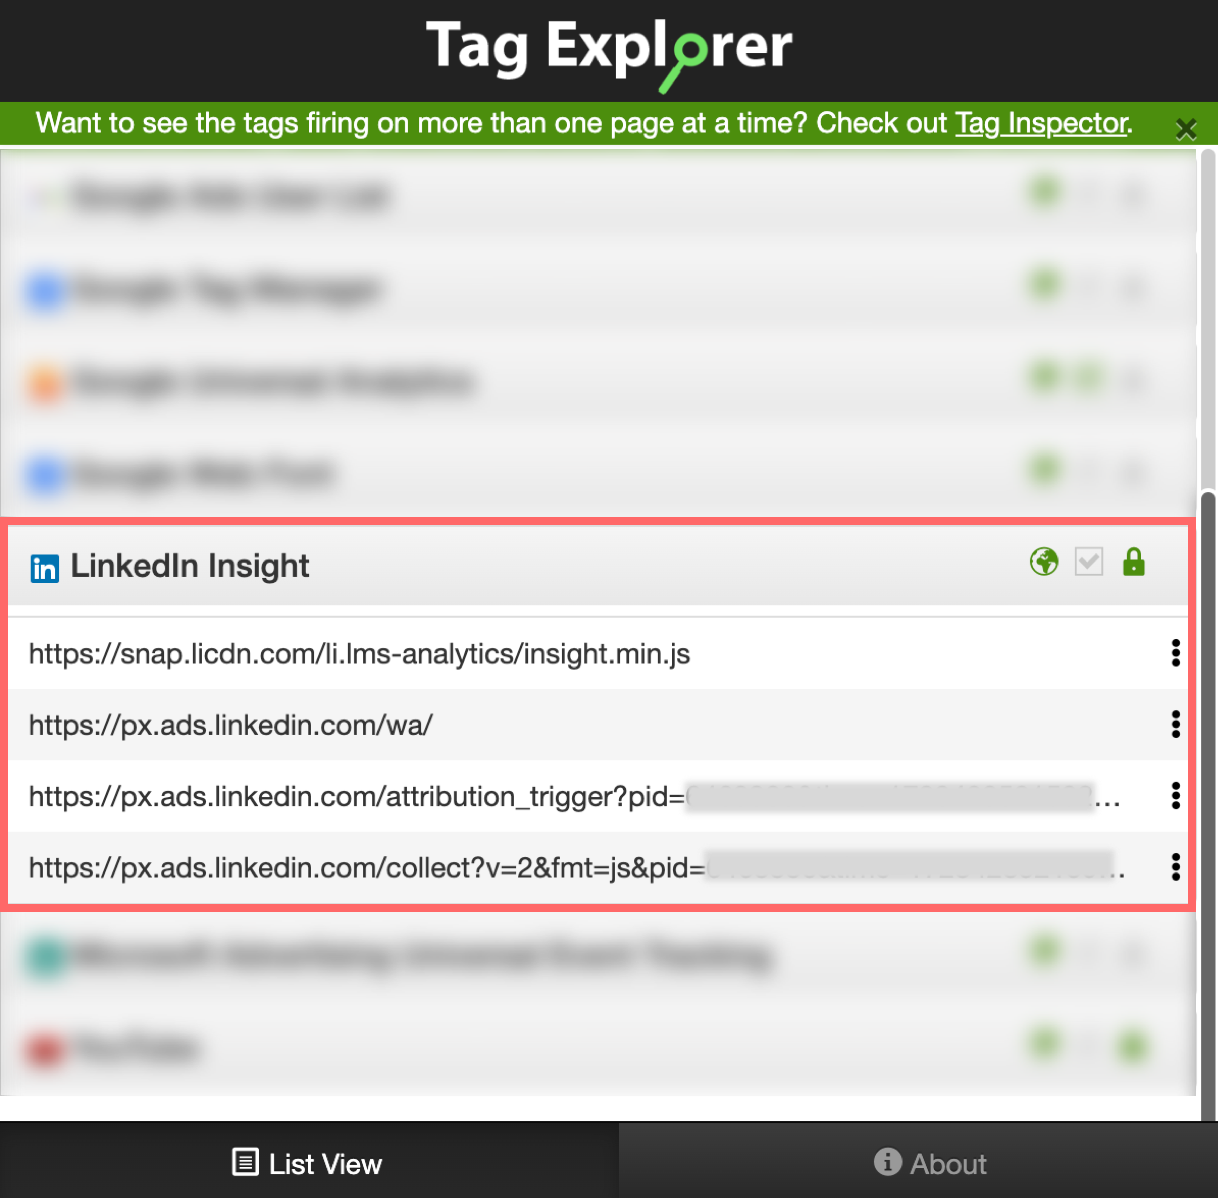
Alternatively, you can use Chrome extensions such as Tag
Explorer
or Insight Tag Checker that
displays all the tag requests for every vendor loading on the site.

